
The Epson LX-300 printer is recommended for use with the iREAP PRO POS application. With this support, it will help you improve efficiency in managing cashier transactions.
| Printer Epson LX-300 | ||
|---|---|---|
| Thermal / DOT Metrix | Dot Metrix | |
| Brand | Epson | |
| Paper Width | A4 | |
| Connection | Kabel USB & Kabel OTG | |
| Paper Type | Continuous Form | |
| Print Logo | No | |
| Location to save the Logo | No | |
Prepare a USB cable and a Type-C OTG cable.
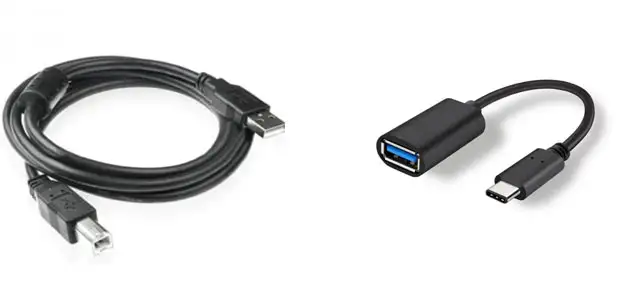
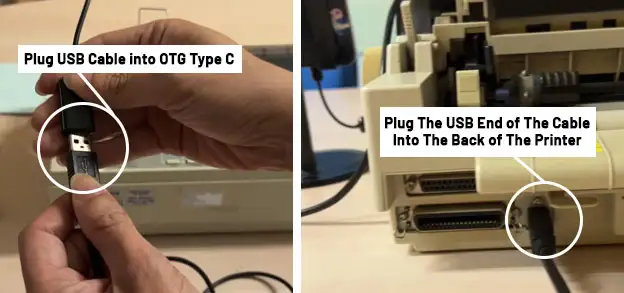
Connect the USB cable and the Type-C OTG cable, then plug the USB cable end into the connector at the back of the printer.
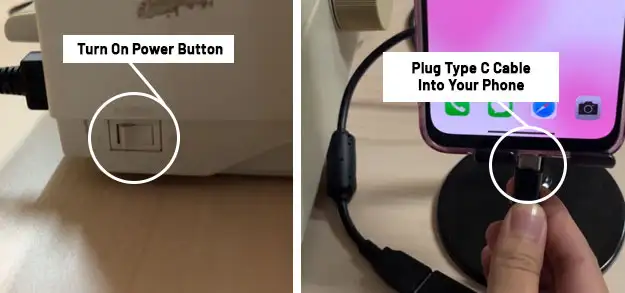
Turn on the printer's power button, then plug the Type-C cable into your phone.
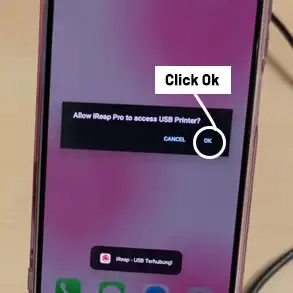
If a notification appears asking Allow iREAP PRO to access the USB printer?, click OK
NOTE:
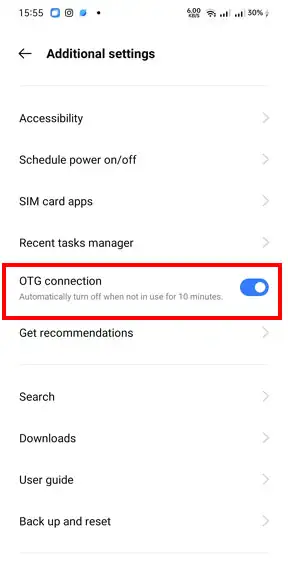
If, after connecting the Type-C OTG cable to your phone, the notification does not appear, you need to enable OTG Connection in your Android smartphone settings (the location of this setting may vary depending on the device).
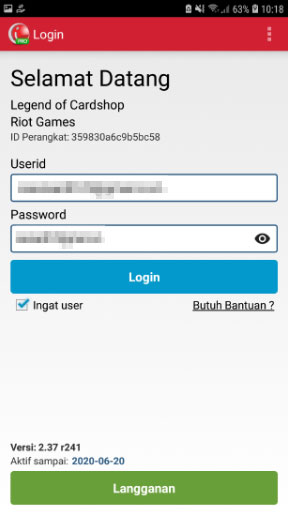
Log in by entering the Username and Password that were previously registered.
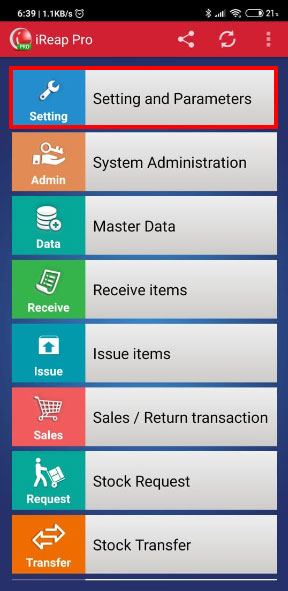
On the main page, select "Setting and Parameters"
Scroll down until you find the "Printer Model" menu, click on the menu
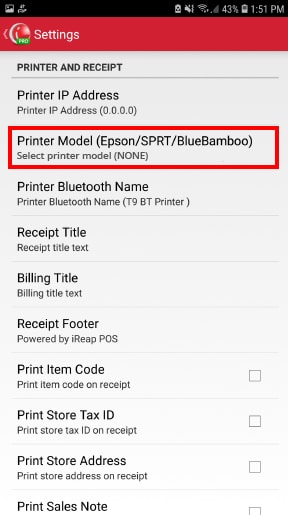
Select the printer model you want to choose (Epson LX-300+II USB)
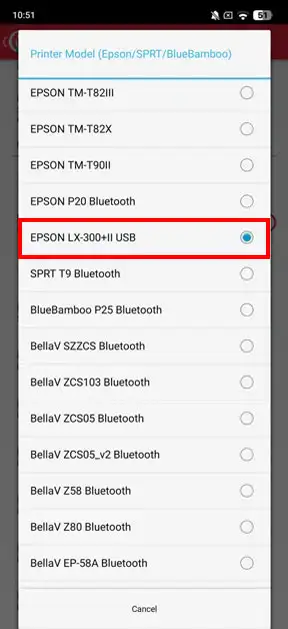
If the printer settings have been completed, you can continue to use iReap POS to record your sales transactions. Details about recording sales transactions can be seen in the following link :
After completing a sales transaction, the receipt/invoice will be printed.
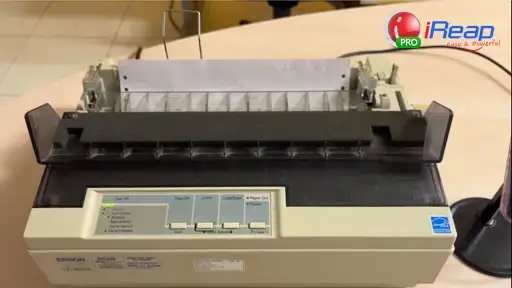
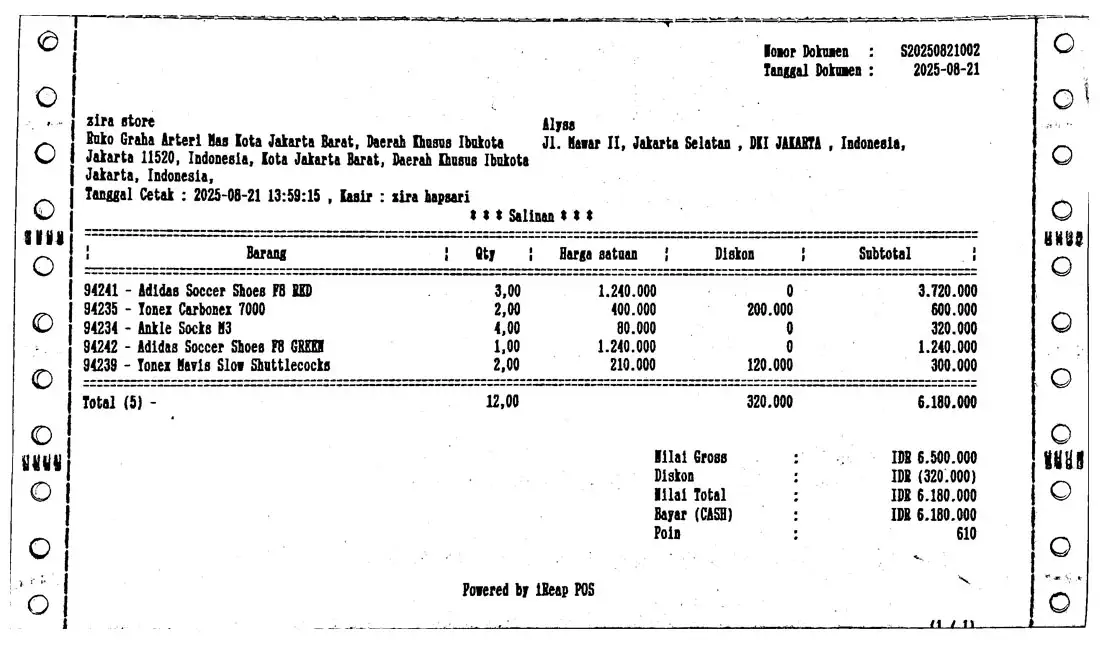
iREAP POS : iREAP stand for Integrated Retail Application, is an application designed and developed to help you managed and run store operation, consists of Point of Sale / Cashier system and inventory control system.