
Recommended for first time user iREAP POS
In business, earning a profit is the company's primary goal. It takes a strategy to increase sales as well as an effective and mature sales strategy so that profits can increase maximally. For example, by improving the cashier's service, which was only 1 cashier in 1 store, you can improve your service by adding a cashier, so that the sales transaction process is maximized.
The concept of IREAP PRO is an android device as a cash register, and each IREAP PRO represents a STORE. This means that 1 IREAP PRO device counts as 1 SHOP and for 1 KASIR
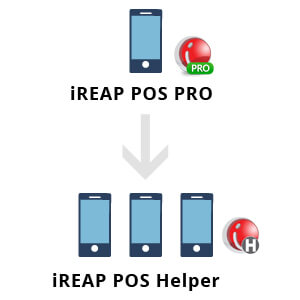
For those of you who have more than 1 (one) cashier in 1 (one) store. IREAP POS PRO facilitates you with the help of IREAP HELPER in addition to each cashier. Which will be connected with IREAP PRO (you can download the iReap Helper here).
NOTE:
Internet connection must be in the same wifi/hotspot network
NOTE:
One iREAP POS Pro application installed for one store, WIFI or HotSpot sharing is required, since the Helper and iREAP POS Pro must connect to the same WIFI / HotSpot.
Step 1
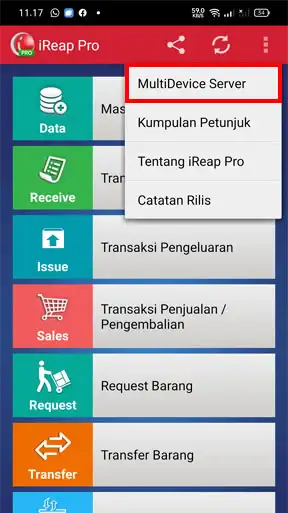
Select MultiDevice Server Menu
Step 2
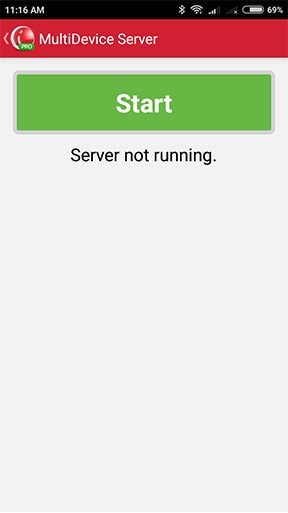
Click on Start Button
Step 3
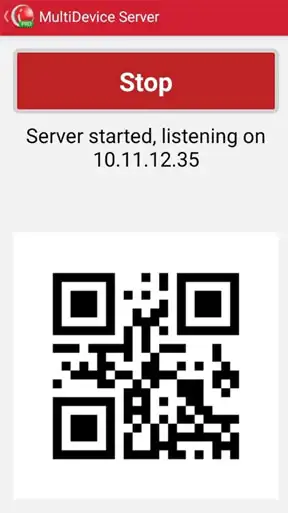
Take Note on The Displayed IP Address / Scan QR Code
Step 1
Choose Setting Menu
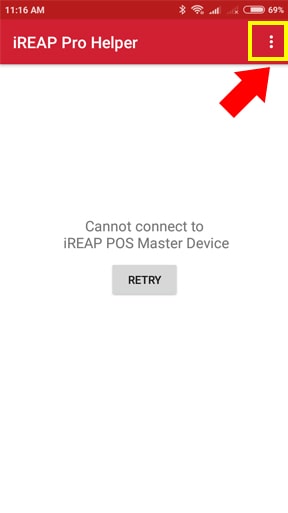
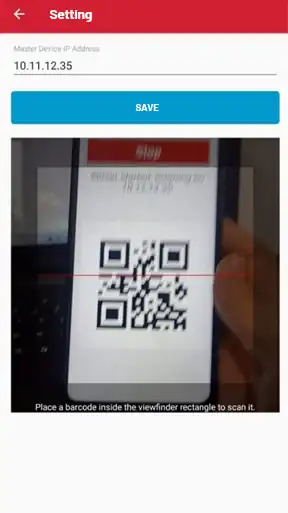
Step 2
Enter Server IP Address / Scan QR Code
NOTE:
all transaction data entered on iREAP POS Helper will be stored on iREAP POS Pro master device, iREAP POS Helper do not store any data and cannot work if not connected to iREAP POS Pro master device.
iREAP POS : iREAP stand for Integrated Retail Application, is an application designed and developed to help you managed and run store operation, consists of Point of Sale / Cashier system and inventory control system.