

Stock List is a document created by the owner or head office for information on the delivery of items to the store so when a cashier or head of store doing a goods receipt items can immediately pull data from the stock list that is formed without the need to input one by one.
In the iREAP POS Pro, this feature also functions to monitor the delivery of items from the head office to the store. Of course, this will make it much easier for you to input stock at the time of receiving items.
To carry out stock listing to receiving goods, the process is divided into two stages. First, a stock list is created through the web admin by the head office. Next, the goods are received directly from the store.


NOTE:
Creating a stock list through the web admin is only the process of preparing the goods receipt document, but it does not yet add stock data.
The Stock List will be confirmed through the Goods Receipt menu, and when saved, it will add stock to the relevant store.
ALSO READ:
How To Upload Goods Receipt Document Using CSV File in iREAP POS PRO apps via Mobile
Make sure that the data master items are current and complete. If the data master item is not complete, it can be dientry / uploaded first (for uploading master data item, can refer to tutorial how to upload master data item with CSV or Excel).
NOTE:
How to Import/Upload Master Data Items from CSV or Excel File via Web Admin
Please fill in the following formatted templates in Excel:
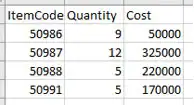
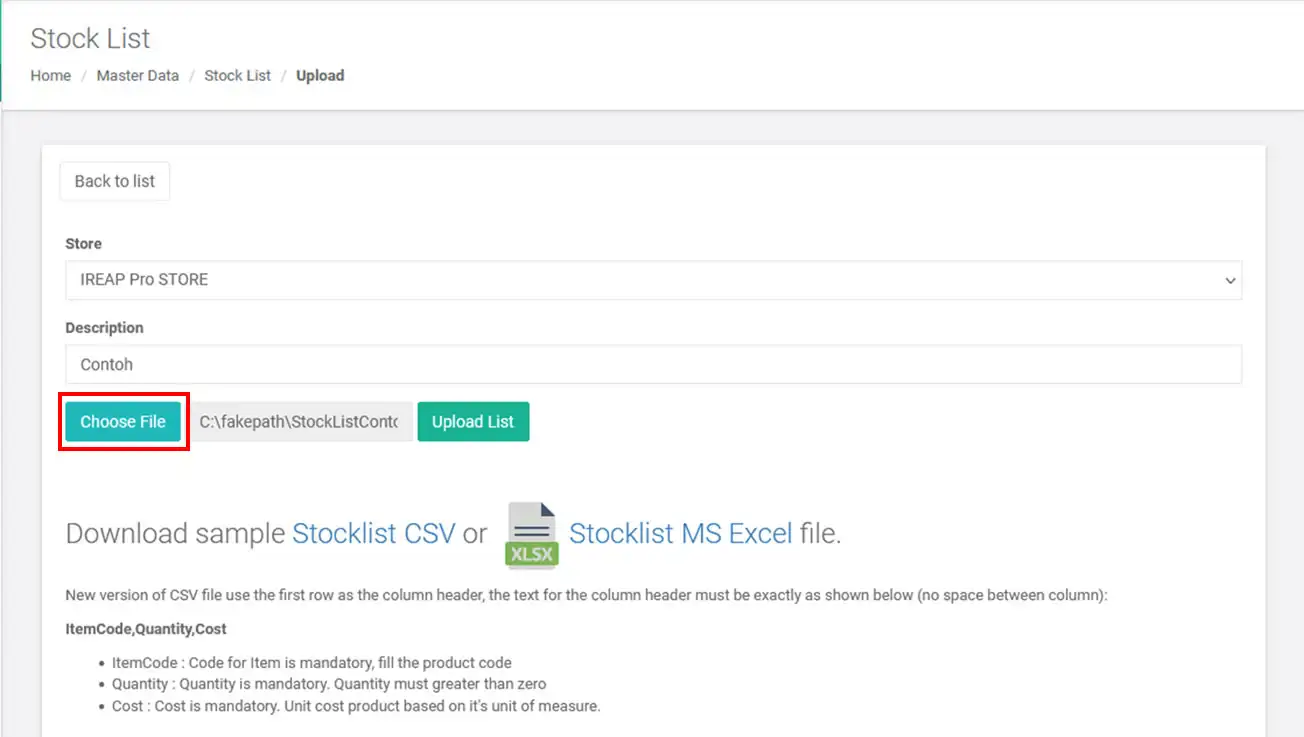
ItemCode: please fill the product code
Quantity: Number of product quantity receipt
Cost: Unit cost product based on it's unit of measure


Save Data file stepped No. 2 in CSV format, by click save as with CSV type

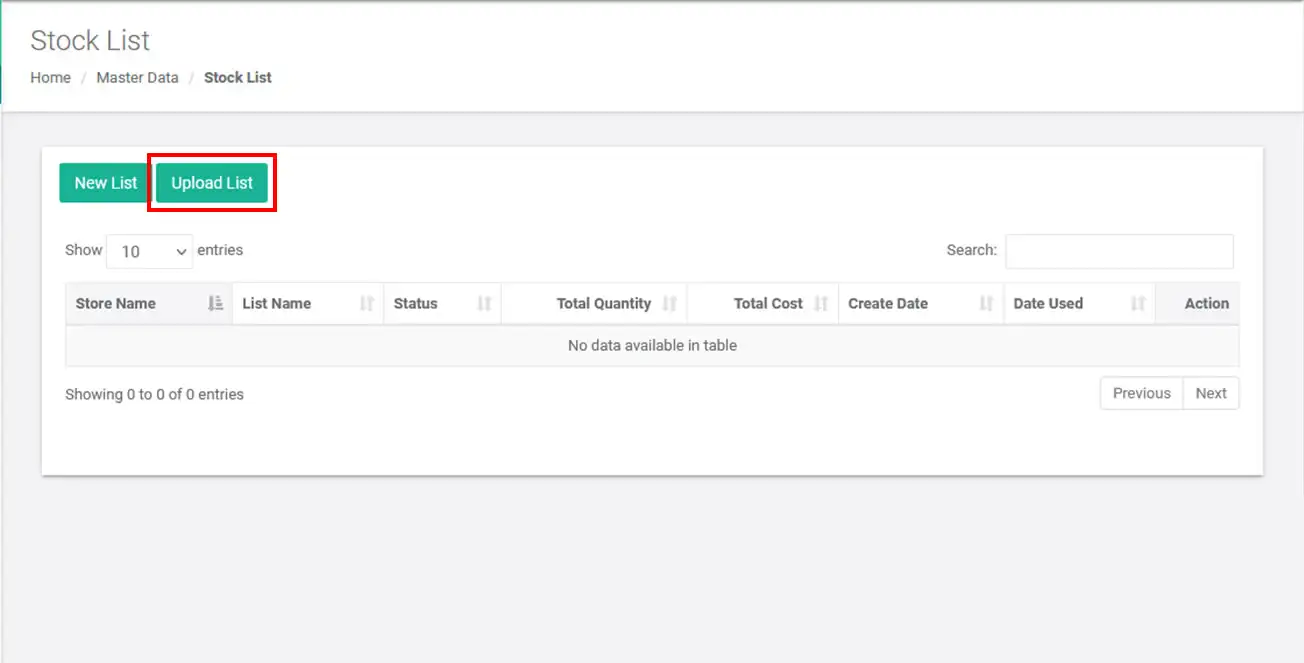
In the dashboard of the iREAP website, click Master Data > Stock List > Click Upload List
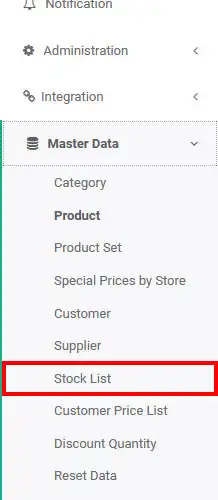
Click Upload List
Select the Store you want to go first, Input Description, and Select Files that have been made (Step No. 2), After That Click Upload Stock List


NOTE:
CHOOSE THE STORE WHICH IS CORRECT
NOTE:
Please upload using CSV and Excel files, with a maximum of 100 items or rows for each upload. If you have more items exceeding the maximum limit, please split the file into batches of 100 rows each.
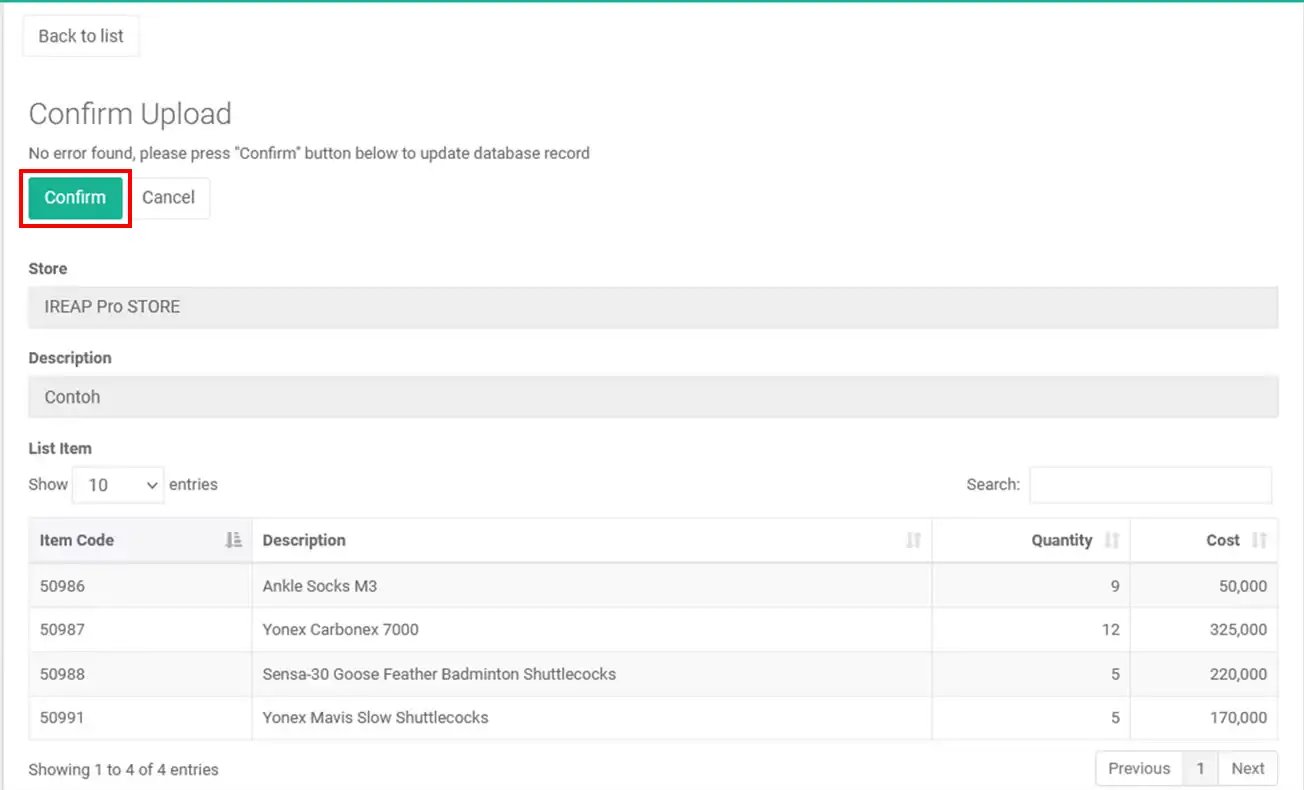
After click Upload Stock List, then click confirm when it is correct or no error
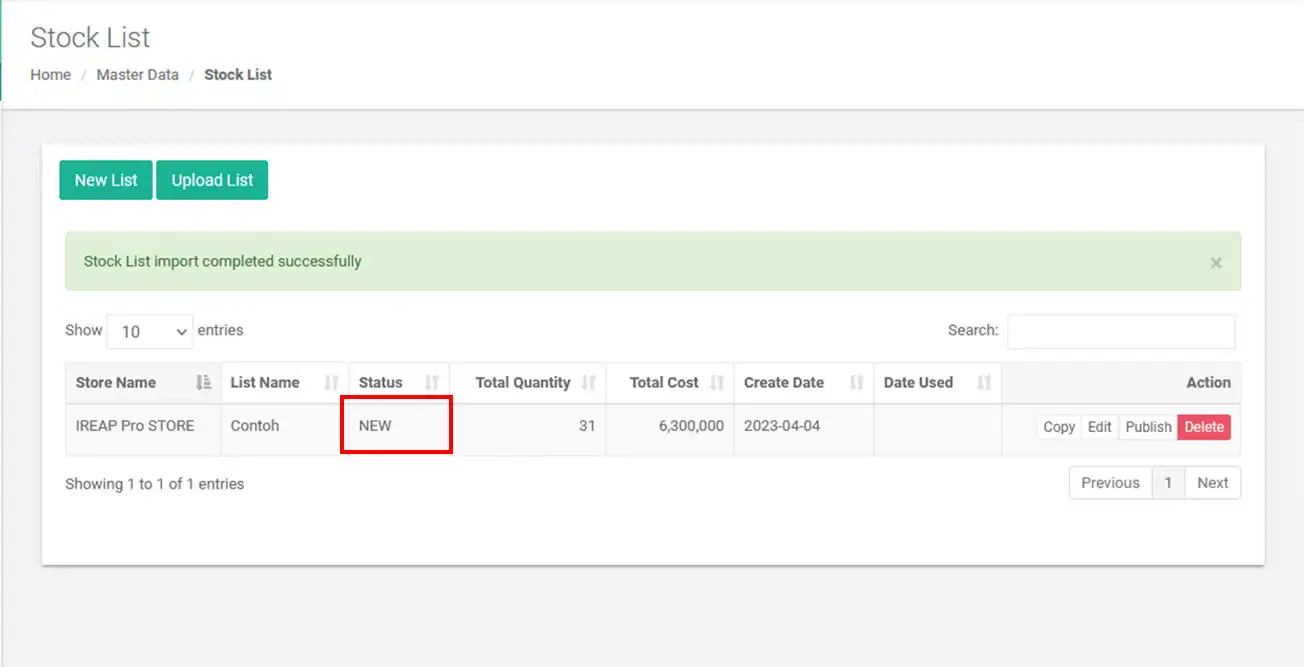
Make sure Stock List import completed successfully and status New
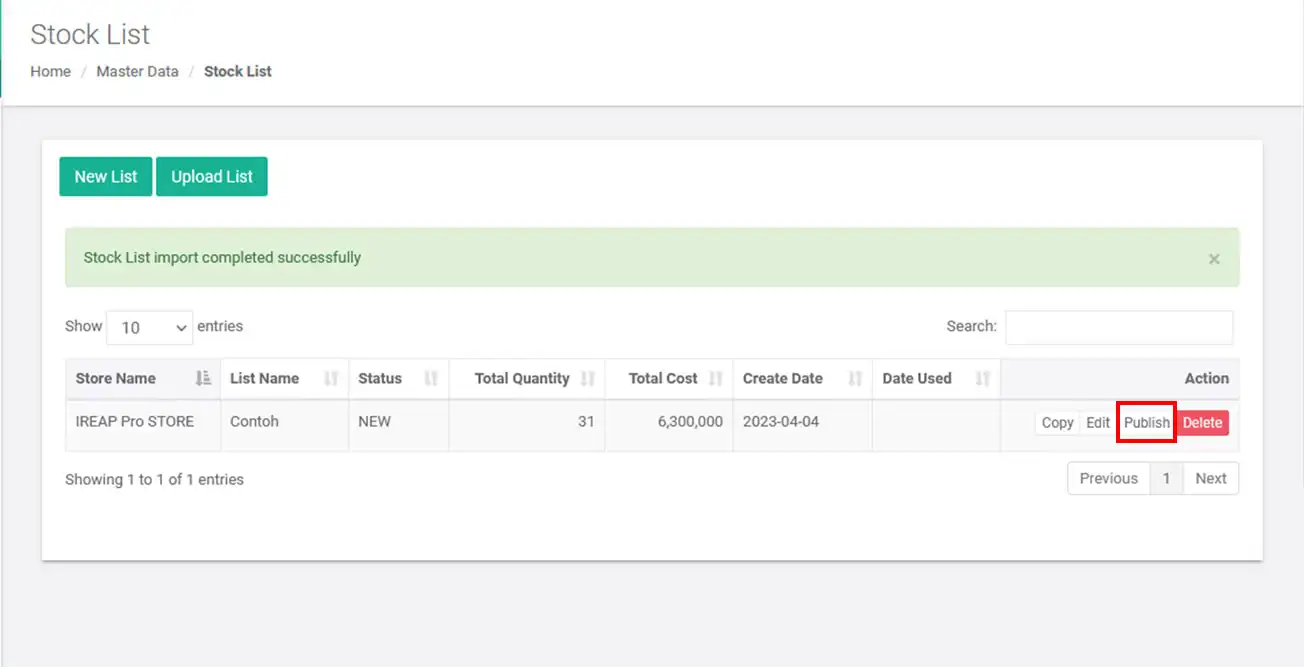
Click Publish if there is no error, if there is please edit back and update the stock list
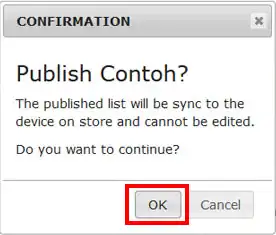
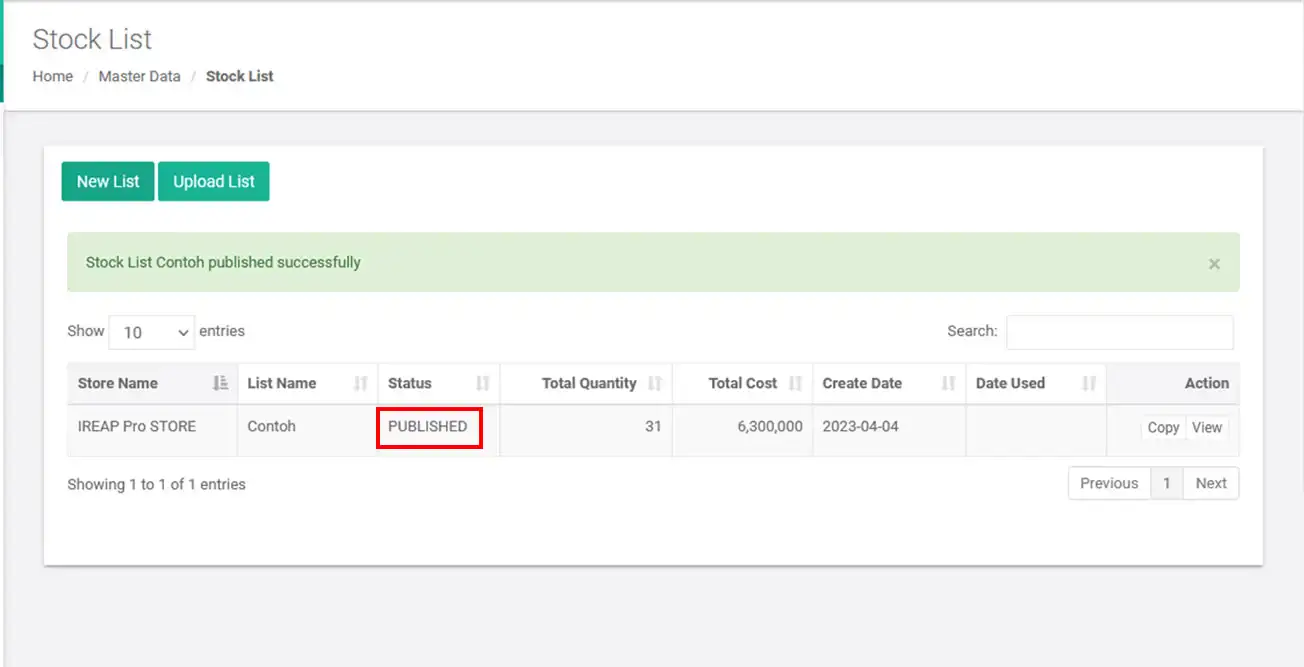
*Click OK, then the stock list will be directly synchronized on the store and can not be changed when it is in publish
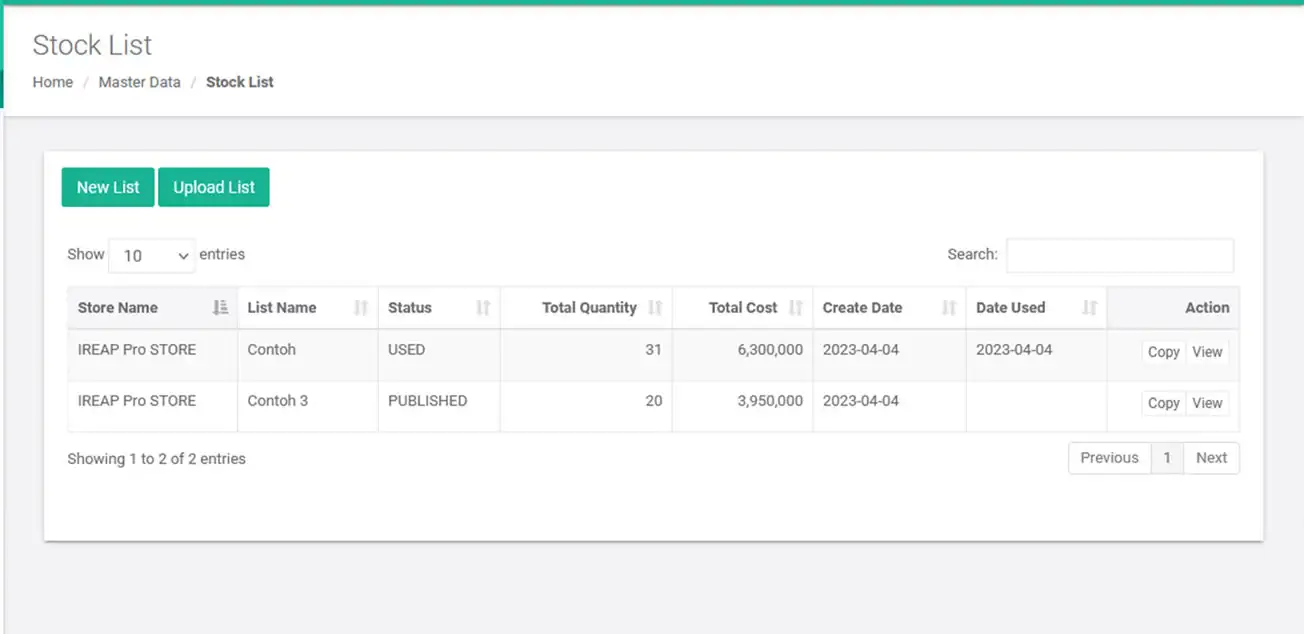
*Status will automatically change to PUBLISHED when successful
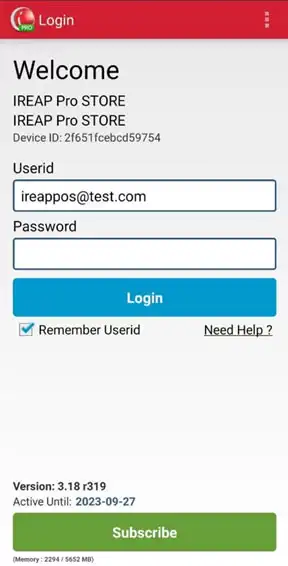
Open iREAP POS Pro app via mobile device
Enter email address and password
Click Login
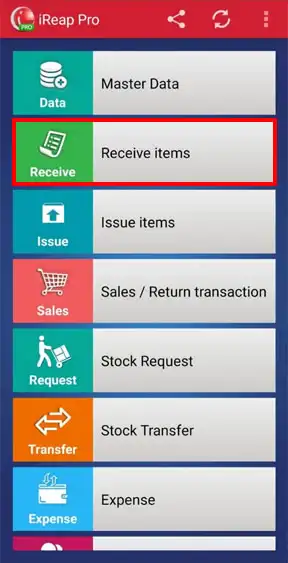
Click menu Receive Item
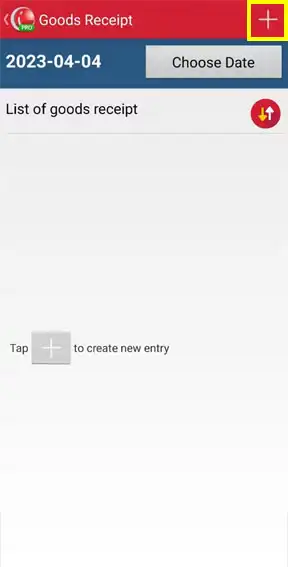
Click "+"
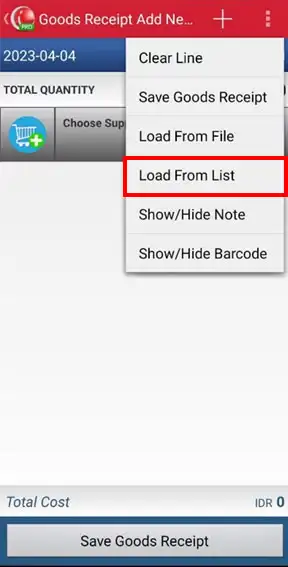
Click > select load from list
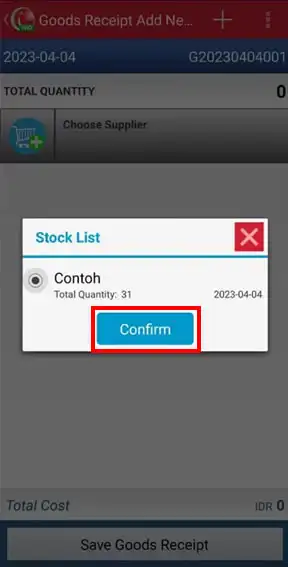
Choose Stock List already created > klik Confirm
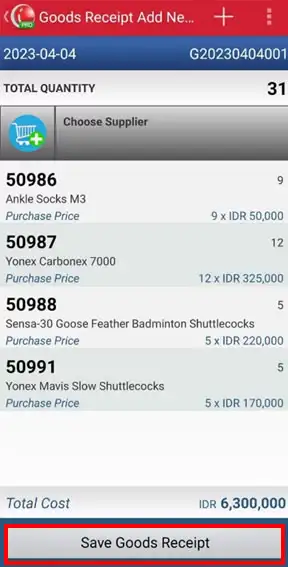
The following is a detailed view of the stock list that has been made. Click Save Receipts
NOTE:
Here you can first check/match whether the physical stock received is correct or not with what is in the stock list document.
NOTE:
If there is an error in the stock list input or it does not match the physical stock received, you can delete the wrong stock list document. Here's how to delete a published stock list CLICK HERE
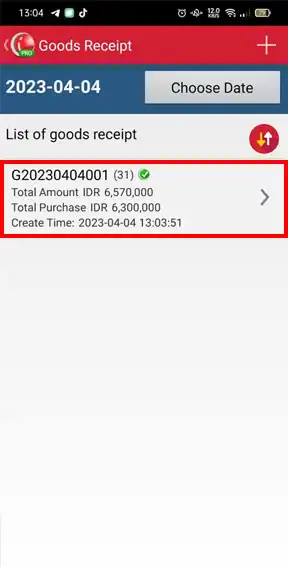
Item successfully received
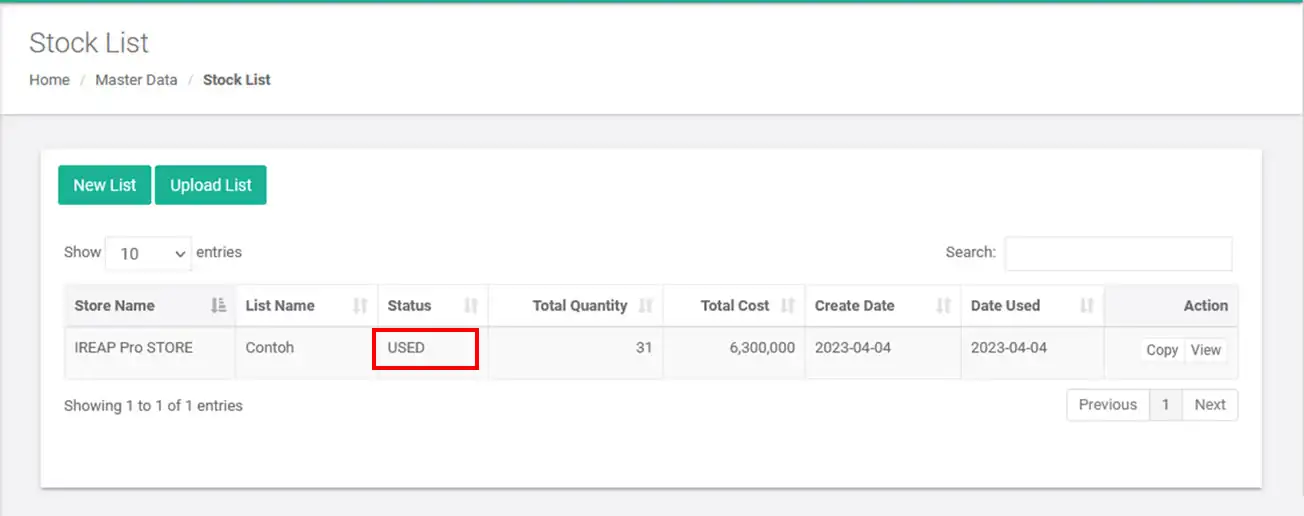
Status will automatically change to USED if successful (stock has been received by the store)
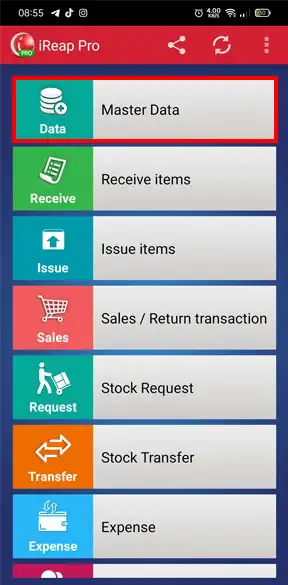
Open your iReap Pro application via your mobile device. Enter email address and password, then Click Login

Click Master data menu
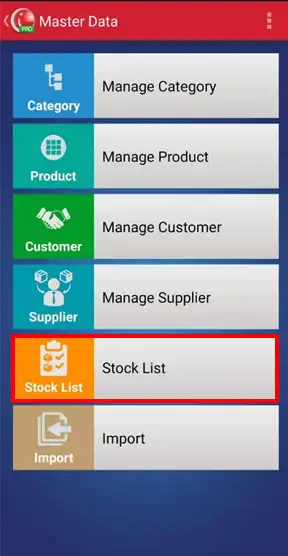
Click Stock List menu
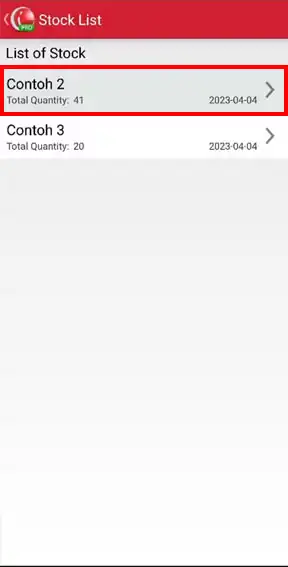
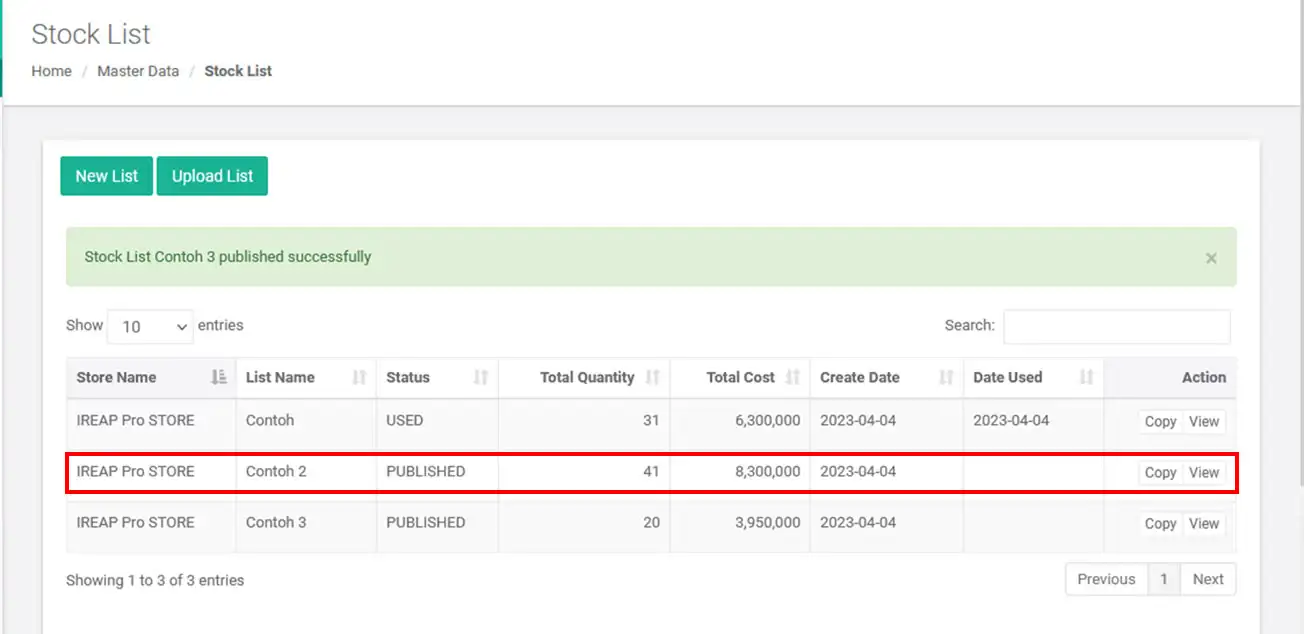
The following shows a list of stock lists that have been published > select the stock list to be deleted
NOTE:
As an example we will delete the stock list with the name: Contoh 2
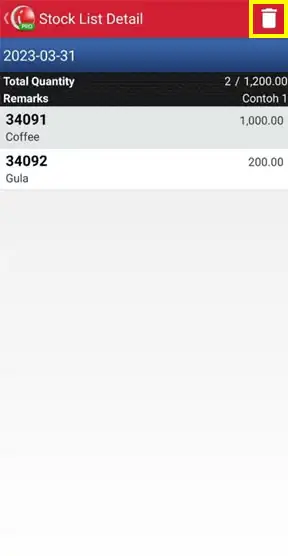
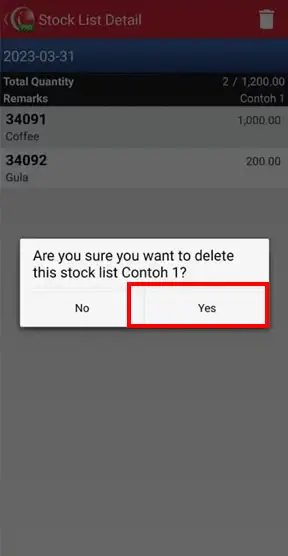
Klik tombol ![]() untuk menghapus > klik YA
untuk menghapus > klik YA
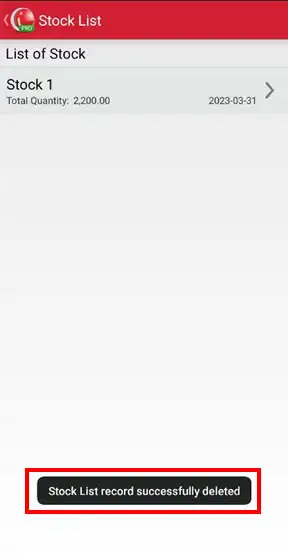
Yeayyy congratulations, you have successfully deleted the stock list document. Through the web admin, stock list documents that have been deleted will automatically disappear.
iREAP POS : iREAP stand for Integrated Retail Application, is an application designed and developed to help you managed and run store operation, consists of Point of Sale / Cashier system and inventory control system.